Studio online - media pool readyRender queue idle
Green screen

Green screen editing in the browser: keying that holds up

A chroma key succeeds on set, not in the keyer: even lighting, clean separation and a subject not wearing the background colour. The software side is then a short checklist, whether the composite happens in a browser tab or a suite.

View pricing
  • The key starts on set, not in the software
  • Clean edges and spill removal in a few moves
  • Composites render from the same timeline
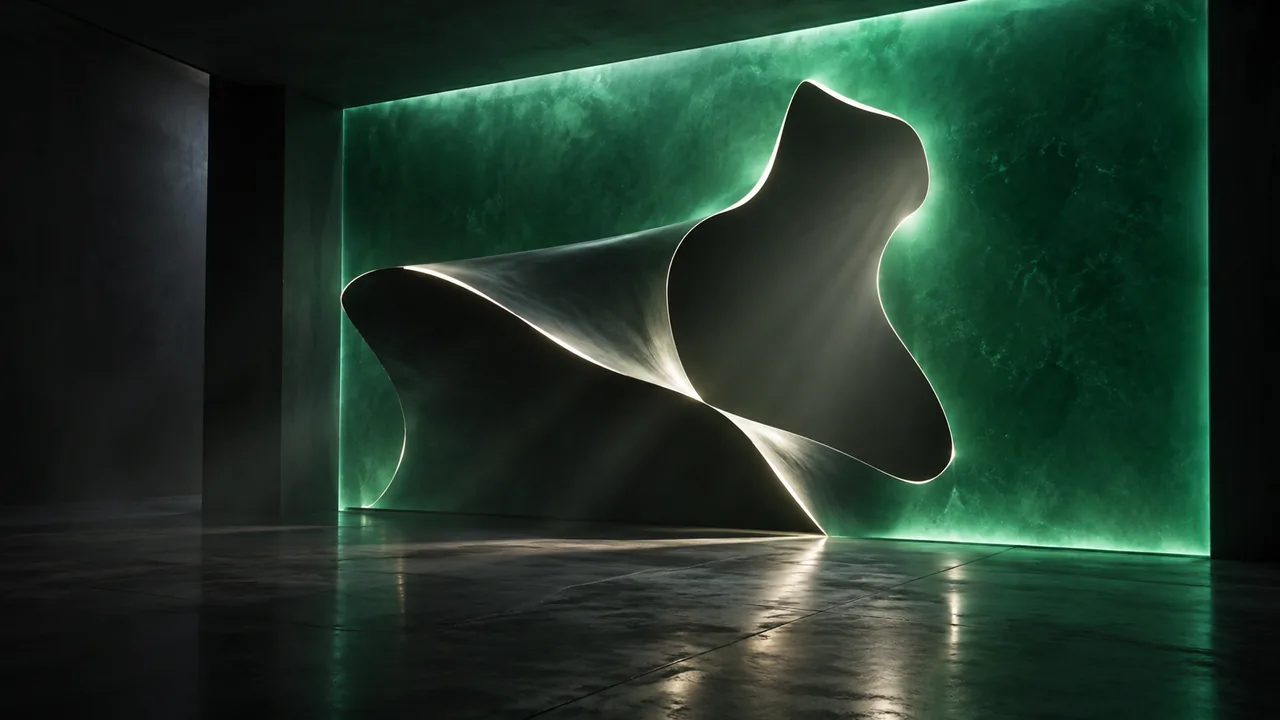
A rim-lit cutout shape peeling off a glowing green panel in a dark studio
On set

What the shoot has to get right

Even light across the green, no creases, and separation between subject and screen where the room allows. A backlight on the shoulders separates hair from the background and buys the keyer its margin.

  • Even, soft light with no hot spots or shadows on the green
  • Two metres of separation where the room allows
  • A backlight rimming the shoulders and hair
  • No green wardrobe and no green props in frame
In the studio

The key itself: pick, refine, despill

The practical order is pick the green with the qualifier, grow or shrink the matte until the edges sit right, then despill the fringe. Fewer tools applied with judgement beats a long chain of effects.

  • Sample the green, then refine the matte coverage
  • Tighten edges: shrink or grow the matte a pixel or two
  • Despill removes the green bounce from skin and props
  • Check the composite against light and dark plates
Compositing

Sitting the subject in a new world

A believable composite matches three things: light direction, colour temperature and grain. If the plate is sunny and the subject was lit flat, no amount of keying fixes the mismatch.

  • Match light direction before adding effects
  • Warm or cool the subject to match the plate
  • Add a touch of grain where the plate has it
  • Ground the subject with a soft shadow
In the browser

Keying on a browser timeline

The qualifier, matte refinement and spill tools live on the colour and Fusion pages in the browser too, and the composite renders from the same timeline as the rest of the project: no round trip to a dedicated machine.

  • Keying tools on the colour page
  • Cleaner, stronger matte work in Fusion
  • Composites play back in the timeline like any other clip
  • One pipeline through to the deliver page
Help

Frequently asked questions

Green screen questions that come up before a first render.

Can a green screen key done in a browser look professional?

Yes; the result depends on the footage and the matte work, not on the machine the keyer runs on. The browser pages include the qualifier, edge tools and despill a working key needs.

Why is there a green rim on the edges of my key?

That rim is spill: green light bouncing onto the subject. Despill tools subtract it, and shrinking the matte slightly also helps. A rim light at the shoot prevents it in the first place.

Do I need a big green screen at home?

For waist-up shots, two metres wide by two high is workable. Full-length shots need the screen to reach the floor and beyond the frame; folds and shadows are what give small screens away.

What should a composite be exported at?

The same delivery preset as the rest of the project, unless the composite feeds further effects work, in which case a master grade file like ProRes keeps room in the highlights.

Ready when you are

Try a key in the browser

Open the studio, drop a green screen clip on a timeline and take it through the qualifier, matte and despill moves above.

See the Fusion page
  • No install, no licence server
  • Google sign in, projects in the cloud
  • Cancel anytime
Green Screen & Chroma Key Editing | Online Editor | DaVinci Resolve